
Last updated October 16, 2026
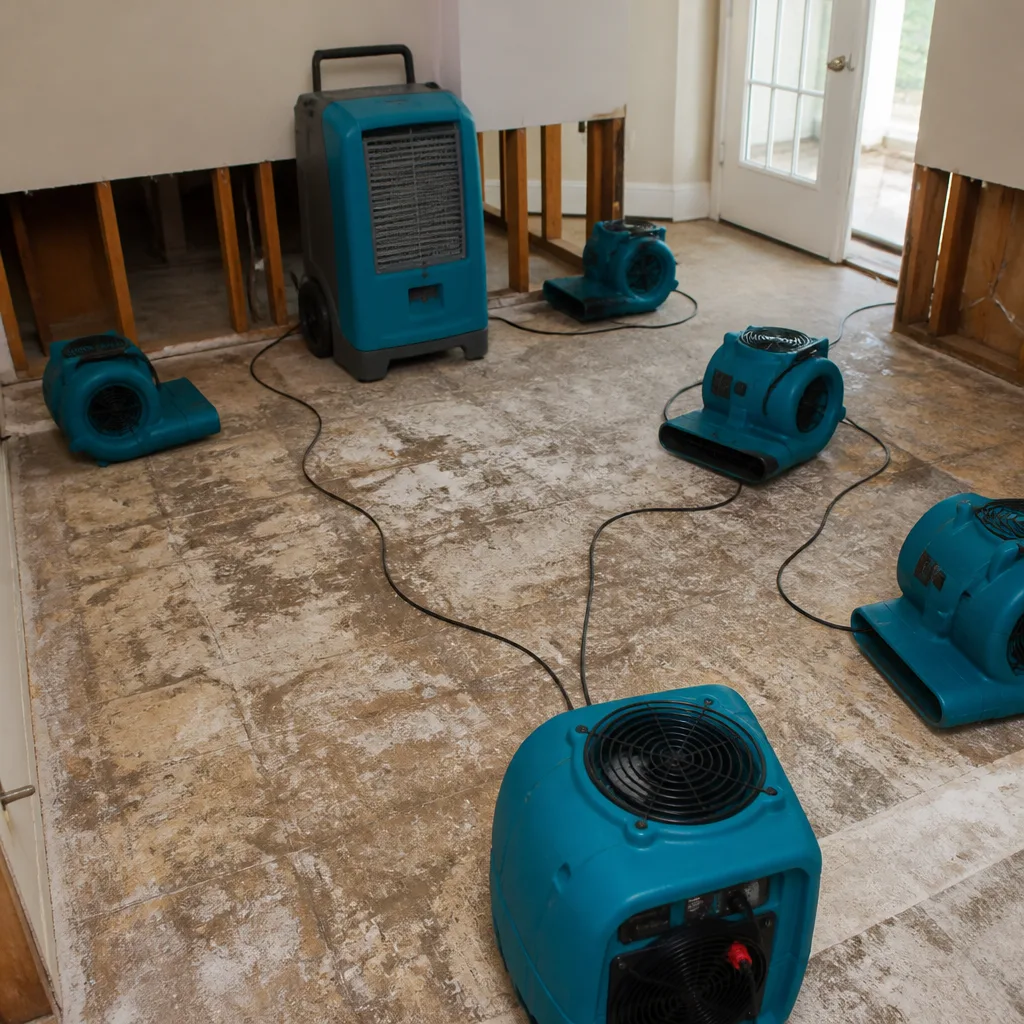 Water damage drying
 Fire & smoke cleanup
 Mold remediation
 Storm response
 Sewage cleanup
 Reconstruction
Free visual inspection and a written scope of work before any mitigation begins - photos, moisture readings, and drying logs go in your claim file
The scope we write is the scope we bill. Anything new gets shown to you, in writing, before we touch it.
Get your free estimateDIY vs Professional Damage Restoration: The San Antonio Homeowner’s Decision Guide
Here’s a number most San Antonio homeowners never hear until it’s too late: a Category 1 water leak caught within two hours and dried correctly costs about $400 out of pocket. That same leak, left over a weekend with box fans running, becomes a Category 3 contamination event requiring full mold remediation, drywall replacement, and content cleaning. The final tab regularly lands between $12,000 and $18,000. San Antonio’s heat and humidity accelerate this timeline faster than almost any other major Texas city – our average summer indoor humidity above 60% means mold colonization can begin in 48 hours, not the 72 hours cited in national guides written for drier climates. This guide teaches you how to classify water damage before you touch a single towel, so you make the right call the first time, and you can find more guides & resources on our blog.
Restoration work we handle
Quick Answer
DIY water cleanup is only safe and effective when the water is clean (from a supply line or rain, never sewage or ground water), it has been present for under two hours, and it has only touched hard, non-porous surfaces like tile or concrete with zero wall, ceiling, or cabinet penetration. If any of those three conditions fails, call a professional restoration company in San Antonio, or read our step-by-step guide on hiring a damage restoration contractor first. The moment water wicks into drywall, insulation, or subfloor, the job changes from cleaning to structural drying – and consumer fans cannot create the airflow or grain depression required to pull moisture from inside building cavities. That’s the honest line.
Table of Contents
- The 3 Water Categories: Plain English, No Testing Equipment Needed
- The DIY Safe Zone: The Only Scenario Where You Should Handle It Yourself
- Why Consumer Fans and Dehumidifiers Cannot Dry a Wall
- Insurance First: What to Photograph Before You Move Anything
- The 2-Minute Decision Tree: 5 Questions That End the Debate
- What San Antonio’s Climate Does to Water Damage
- Mold Reality: The San Antonio Timeline Nobody Wants to Hear
- The False Economy: How a $400 Weekend Project Becomes a $14,000 Mold Remediation
- Common Mistakes to Avoid
- When to Call a Professional
- Frequently Asked Questions
- The Bottom Line
The 3 Water Categories: Plain English, No Testing Equipment Needed
The restoration industry classifies every water event into one of three categories, and that classification – more than the amount of water – determines whether you can safely clean it yourself or need professionals. The categories come from the IICRC S500 standard, the same document that governs commercial restoration work. You do not need testing equipment to identify the category in most cases. You need to know where the water came from.
Category 1: Clean Water
This is water that is safe to touch and drink. It comes from a broken supply line under a sink, a failed water heater tank (if the water is clean municipal water), an overflowing bathtub with clean water, or a leaking pipe in the wall. The key qualifier: the water has not passed through any building material, soil, or sewage. If a pipe bursts and sprays water across your tile floor, that is Category 1 for the first few hours. But here is the part most homeowners miss: Category 1 water downgrades. Clean water sitting in a warm San Antonio home for 48 hours becomes Category 2, and after 72 hours of contact with organic material (drywall paper, carpet padding, wood), it becomes Category 3 by definition because it has now absorbed whatever was in those materials. The clock starts the moment water touches anything porous.
Category 2: Gray Water
Gray water contains significant contamination – chemical, biological, or physical. In plain terms: it can make you sick if you touch it and then touch your face, food, or an open cut. Common San Antonio sources include washing machine overflows, dishwasher drain failures, toilet overflows with urine only (no feces), and water that has passed through a ceiling or wall and picked up whatever was in the cavity – insulation fibers, rodent droppings, decades of dust. Gray water requires antimicrobial treatment, not just drying. You can usually identify it by smell or appearance: if the water is cloudy, foamy, or has any odor, it is Category 2 at minimum, regardless of the source.
Category 3: Black Water
Black water is grossly unsanitary. It contains sewage, fecal matter, or water that has risen from the ground – what San Antonio residents deal with when flooding backs up through a floor drain or when a toilet overflows with solid waste. Ground water from storms is Category 3 because San Antonio’s soil carries bacteria, fertilizer runoff, and whatever else the rain picked up crossing streets and yards. Black water can also be clean water that sat long enough to grow pathogenic bacteria. You should never, under any circumstances, attempt DIY cleanup of Category 3 water. The required procedure involves full personal protective equipment, contaminated material removal, and biocide application. This is a health hazard, not a housekeeping challenge.
The practical takeaway: most water damage in San Antonio homes starts as Category 1 and is downgraded to Category 2 or 3 by delay. The homeowner who acts in the first two hours has a cleaning problem. The homeowner who waits 72 hours has a remediation problem. Both may have started with the same pinhole leak.
The DIY Safe Zone: The Only Scenario Where You Should Handle It Yourself
We want to be straight with you about when DIY actually works, because there is a real scenario where it does, and pretending otherwise would cost you trust and money. The DIY Safe Zone has four conditions, and all four must be true at the same time. No exceptions.
- The water is Category 1. You know the source, and it is clean – a supply line, a clean tub overflow, a water heater leak. If the water touched soil, sewage, or a drain, you are out of the Safe Zone.
- The water has been present for less than two hours. Not “I noticed it two hours ago.” The water has been there less than two hours from the moment of the event. If you came home to a puddle you cannot timestamp, assume it is older than two hours.
- The water touched only hard, non-porous surfaces. Tile, concrete, sealed hardwood (sealed, not raw), vinyl plank, metal. No carpet. No rug. No drywall. No baseboards that got wet at the seam. No cabinets with toe-kicks or side panels that absorbed water. If water reached a wall, the Safe Zone is gone – even if the baseboard looks dry at the top.
- No water reached the subfloor through any crack, seam, or penetration. In homes with slab foundations (common across San Antonio), water that sits on tile can work its way through grout lines and under the tile. In pier-and-beam homes, water can drop through the floor entirely into the crawl space. If you are not certain about what is under the flooring, you are not in the Safe Zone.
If all four conditions hold, here is the correct procedure: extract standing water with a wet-vac, mop up what remains, dry surfaces with clean towels, run a household dehumidifier and air conditioning for 24 to 48 hours, and monitor for odor. That is it. No bleach on building materials (bleach does not kill mold on porous surfaces; it just bleaches the color while leaving the root structure intact). No cutting into walls “just to check.” No box fans pointed at the wet spot for three days.
But be honest with yourself about boundary conditions. The moment water touched drywall, trim, cabinetry, or carpet, you are outside the Safe Zone and the failure mode is silent. Moisture inside wall cavities does not reveal itself for weeks. You will not see it. You will smell it later.
Why Consumer Fans and Dehumidifiers Cannot Dry a Wall
This is the section where we explain drywall physics, because understanding this single point prevents more San Antonio mold claims than any other piece of education we provide. The short version: when water wicks into drywall, it does not sit on the surface where a fan can blow it away. It saturates the gypsum core. Gypsum is a sponge. It holds water at a rate of roughly one gallon per square foot of drywall panel. Your box fan moving air across the painted surface does almost nothing to the water inside the panel.
Professional drying relies on two mechanisms that consumer equipment cannot replicate: airflow and grain depression. Airflow from commercial air movers (the equipment we run from Dri-Eaz and Phoenix) moves air at volumes of 2,000 to 3,000 cubic feet per minute across a surface – roughly 10 to 15 times what a typical box fan produces. That volume of moving air creates a pressure differential at the wall surface that actively pulls moisture from within the material. The industry term is psychrometric drying (measuring the moisture in the air to verify the structure is genuinely dry, not just dry on the surface), and it is the difference between drying the painted face of a wall and drying the wall.
The second mechanism is grain depression, which is the measurement of how much moisture the air can still hold. A consumer dehumidifier rated for 30 pints per day in a bathroom cannot reduce the vapor pressure in a room enough to pull water from the interior of drywall. A professional desiccant or low-grain refrigerant dehumidifier from XPOWER or similar commercial-grade equipment can drop the air’s moisture content to a level where the air itself becomes a sponge, actively pulling water from building materials. That is not a sales pitch. That is the physical requirement of the job.
What all this means for the San Antonio homeowner: if water has penetrated a wall, ceiling, or cabinet, no amount of time with rentable equipment from a hardware store or fans from H-E-B will dry the cavity. The moisture will remain, the humidity in the cavity will stay above 70%, and mold will grow behind the paint. We have walked into homes in Alamo Heights and Stone Oak where homeowners ran fans for six days and then called us because of the smell. In each case, the wall cavity was wet to the touch behind the drywall, the insulation was saturated, and the remediation bill was several times what the initial drying would have cost.
Insurance First: What to Photograph Before You Move Anything
Texas homeowner’s insurance policies contain what is called a “prompt action” clause. It requires you to take reasonable steps to protect your property from further damage after a loss. That clause is a double-edged sword for the DIY-minded homeowner. If you do nothing, the insurer can deny coverage for damage that occurred after the initial event because you failed to prevent it. But if you tear out wet materials, start cutting drywall, or move affected contents before documenting everything, the insurer can argue that you destroyed evidence of the loss and that you may have made the damage worse through improper drying. Both outcomes reduce or eliminate your payout. The correct sequence is documentation first, mitigation second.
Here is the documentation checklist before you move a single item or start any extraction:
- Photograph every affected area from at least two angles. Wide shots that establish where in the room the damage is, and close shots that show the extent of water spread, staining, and material saturation. Include the water source if visible (the failed supply line, the water heater, the appliance).
- Photograph affected contents in place. Furniture, rugs, boxes, electronics – anything that got wet or might have been splashed. Do not move them first. The adjuster needs to see where everything was relative to the water.
- Video walkthrough with narration. A 30-to-60-second video where you state the date, time, what happened, and what you are seeing. This establishes a contemporaneous record that is hard to dispute.
- Photograph the water source up close. The ruptured fitting, the failed seal, the crack. This helps establish the cause of loss, which is what the adjuster needs to confirm coverage.
- Photograph moisture on the floor, walls, and any visible water line marks. Before you mop or extract. The water line is evidence of how high the water reached.
- Save receipts for anything you purchase for emergency mitigation. Wet-vacs, tarps, fans. Your policy may reimburse reasonable mitigation expenses.
The irony that catches many homeowners: you are trying to be responsible by cleaning up the mess quickly, and that very cleanliness makes the claim harder to prove. The adjuster arrives two days later, sees damp spots and no standing water, and can reasonably conclude the damage was less severe than you described. Photographs taken before cleanup are the only defense against this. If you have any doubt about whether the damage warrants a claim, call your insurer first and ask them to document the loss. If they send an adjuster in a timely manner, that documentation is theirs, not yours. If they cannot send someone quickly, follow the checklist above and then mitigate.
One more San Antonio-specific note: wind and hail claims through the Texas Windstorm Insurance Association (TWIA) and standard homeowners policies frequently involve storm damage restoration. If water entered through a storm-damaged roof, the documentation standard is higher: photograph the interior damage, the visible exterior damage, and the roof condition from the ground. Do not get on the roof yourself. Steep-roof inspection and tarping is dangerous work and belongs to a trained professional. That is not a preference; that is a safety requirement.
The 2-Minute Decision Tree: 5 Questions That End the Debate
Here is the decision tool we promised. Answer each question honestly. The first “no” ends the process. No gray area at the end – just a clear call.
- Do you know exactly where the water came from, and was that source clean?
Yes: move to question 2. No or not sure: call a professional. If the water could have come from a drain, sewage line, or the ground, you are dealing with contaminated water, and the required procedure is remediation, not cleaning. - Has the water been present for less than two hours?
Yes: move to question 3. No or not sure: call a professional. San Antonio’s heat means water that sat overnight, while you were at work, or while you were out of town has already downgraded categories. The clock starts at the moment of the leak, not the moment you found it. - Has the water touched only hard surfaces – tile, concrete, sealed wood, vinyl – with zero contact with drywall, carpet, baseboards, cabinets, or the subfloor?
Yes: move to question 4. No: call a professional. Water that touched any porous building material has begun wicking into the material. You cannot see the full extent from the surface, and consumer equipment cannot dry the interior of the material. - Can you see or reasonably verify that no water reached any wall cavity, ceiling cavity, or under the flooring?
Yes: move to question 5. No or not sure: call a professional. Water moves in unexpected directions. It follows gravity but also wicks laterally through materials. A puddle on the kitchen floor may have already traveled under the toe-kick and into the cabinet base. If you are not certain, the uncertainty is itself the answer. - Within 48 hours, will the affected area be bone dry to the touch and show no odor?
Yes: proceed with the DIY Safe Zone procedure described above. No: call a professional. If you cannot honestly commit to verifying dryness within 48 hours, you are committing to mold growth. San Antonio’s humidity means building materials that are still damp at the 48-hour mark are at real risk of colonization.
That is the entire decision tree. No home inspection certifications required. You either know the water source, know the timeline, and can verify dryness, or you call us. The homeowners who get into trouble are the ones who answer “probably” to question 3 or “I think so” to question 4 and then spend the next six months wondering where the smell is coming from.
What San Antonio’s Climate Does to Water Damage
National restoration guides are written for a generic American home, not for San Antonio’s year-round climate challenges. They are not written for a house in Terrell Hills in August, when the outdoor dew point sits in the mid-70s and the indoor relative humidity without air conditioning runs 65% to 75%. San Antonio’s climate is a mold accelerant. It changes the timeline, the drying requirements, and the risk calculation for every water event in your home.
The core problem is that mold needs three things: a food source (drywall paper, wood, carpet backing – all abundant in any home), a temperature between 40 and 100 degrees Fahrenheit (San Antonio is in that range year-round, but the hot months are ideal), and moisture. In climates like Denver or Phoenix, water that gets into a wall cavity may dry naturally through evaporation before mold can take hold. In San Antonio, the ambient air is already so humid that evaporation slows, and the warm temperature speeds up fungal metabolism. The result: a 48-hour colonization window rather than 72. Some species of Aspergillus and Penicillium, the two most common indoor molds in South Texas, can begin growing in 24 hours under ideal conditions.
San Antonio’s soil also contributes. Much of the city sits on expansive clay, particularly in the northwest and far west sides. Clay soil shifts with moisture content, which puts stress on slab foundations and buried plumbing. When a slab shifts, cast-iron or PVC waste lines can crack or separate, and the result is a slow Category 3 leak under the foundation that no DIY approach will ever find. We have seen homes in Leon Valley and Helotes with persistent musty odors caused by a cracked waste line under the slab – a problem that required professional leak detection, plumbing repair, and then full structural drying and mold remediation. That is not a weekend project. That is a restoration job.
The practical message for San Antonio homeowners: treat every water event as if mold is already on the clock. The national guideline of “72 hours to dry” is optimistic for our climate. Plan for 48. That is the window during which professional drying equipment should be placed if structural drying is needed. It is also the window during which your insurance claim is easiest to document and prove.
Mold Reality: The San Antonio Timeline Nobody Wants to Hear
Let’s talk about what actually happens when a water event is not dried correctly, because this is the part of the story that drives most of our slow, sad calls. A homeowner in a neighborhood like Mahncke Park or Highland Park has a water heater leak on a Friday night. They mop up, run fans, open windows, and move on with their weekend. By Sunday, the visible surfaces feel dry. They consider the problem solved. What they do not know: the water that ran into the wall cavity soaked the drywall and insulation behind the baseboard. The cavity is now a humid, warm, dark box. Mold begins growing between day 2 and day 3. By day 10, the colony is established. By day 30, the musty odor is noticeable. By day 90, the family is experiencing allergy symptoms, the home appraisal is threatened, and the remediation estimate is in the five figures.
This is not a worst-case scenario. This is the standard trajectory we see in homes across San Antonio where water damage was treated as a housekeeping problem instead of a structural drying problem. The mold is not visible because it is behind the paint, growing on the back side of the drywall facing. The drywall feels dry on the front. The smell seeps through, but by then the colony has been active for weeks.
The difference between drying and remediation is cost and invasiveness. Structural drying with professional equipment, when started within 48 hours, typically runs between $1,500 and $3,500 depending on the size of the affected area and the number of days of equipment rental. Full mold remediation of a wall cavity, on the other hand, requires cutting out affected drywall, removing and disposing of contaminated insulation, treating the framing with antimicrobial solutions, rebuilding the wall, retexturing, and repainting. That work commonly runs between $8,000 and $20,000 for a single room, and it can take one to two weeks of construction. The insurance coverage question also changes: many Texas policies cap mold remediation coverage at $5,000 to $10,000 regardless of actual cost. The homeowner who dries correctly may pay a $2,000 deductible and walk away with the job done. The homeowner who waits may pay $10,000 out of pocket on top of the policy cap. The prompt action clause cuts both ways.
The False Economy: How a $400 Weekend Project Becomes a $14,000 Mold Remediation
We titled this guide “The False Economy” because that phrase captures the exact financial mechanism at work. The homeowner’s instinct is to save money by handling damage independently. The instinct is reasonable. The arithmetic is not. Here is the arithmetic.
A water heater leak in a home on the northwest side of San Antonio. The leak is clean, Category 1 water. The floor is tile, but the water spreads to a wall and soaks the bottom two inches of drywall and baseboard. The homeowner dries the floor with towels, sets up a $40 box fan and a $35 rental dehumidifier, and spends two days moving the fan around the room. Total out-of-pocket: $75. The visible surfaces feel dry on day three. The wall cavity behind the baseboard is still saturated. Six weeks later, the homeowner smells must. A professional diagnosis finds mold in the wall cavity, along the bottom plate, and extending into the subfloor. The remediation requires: removal of 12 linear feet of drywall, removal and replacement of saturated insulation, antimicrobial treatment of framing, drying verification with psychrometric readings (measuring the moisture in the air), reconstruction, texturing, and painting. Total cost: $14,000. The $75 DIY effort saved nothing. It postponed the real work and made it more expensive by allowing mold to establish into the framing.
The honest comparison is not $75 versus $14,000. It is $75 plus all the risk versus $1,500 to $3,000 for professional structural drying started within 48 hours. The professional route costs more up front, but it produces a fixed outcome: the wall is dry to the framing, documented with moisture readings, and guaranteed. The DIY route produces an uncertain outcome that can range from fine (rarely, if the water truly did not penetrate) to financially catastrophic (commonly, if it did).
The insurance angle makes this math even sharper. Even if your policy covers water damage and mold, the mold coverage is usually a sublimit of $5,000 to $10,000. That means a $14,000 remediation leaves a homeowner writing a check for $4,000 to $9,000 out of pocket even after the claim is paid. If the insurer can argue that the delay or the improper drying made the damage worse, the coverage can be reduced further. The “prompt action” clause that requires you to mitigate damage also requires you to mitigate it correctly. A documented professional drying, with moisture readings and a written scope, is the strongest possible evidence that you met your duty. A rental receipt from a hardware store is not.
The financial conclusion: in San Antonio, professional structural drying is the cheaper option whenever water has touched a wall, ceiling, floor cavity, or cabinet. Not because the service is cheap. Because the alternative is expensive in a way that compounds over time, and the compounding happens behind your paint where you cannot see it.
Common Mistakes to Avoid
- Using bleach on mold or water-damaged drywall. Bleach does not kill mold on porous surfaces. It bleaches the color and leaves the roots alive. The mold appears to disappear and returns within weeks. Proper mold treatment requires either complete removal of affected materials or professional antimicrobial treatment designed for porous surfaces.
- Running box fans for days without a dehumidifier. Fans alone evaporate water into the air without removing it. The moisture moves from the wall to the room, and then re-condenses when the temperature drops. You are circulating the problem, not solving it. Proper drying requires both airflow and moisture extraction.
- Cutting open a wall to “let it dry” before documenting the damage. This destroys evidence the insurance adjuster needs, and it introduces a new open surface for moisture to escape and mold to form. Never cut into anything before photographing everything.
- Assuming a dry surface means a dry wall interior. Drywall paper can feel dry on the painted face while the gypsum core and the framing behind it are saturated. The only reliable way to verify wall dryness is with a moisture meter, which restoration companies carry and most homeowners do not.
- Waiting until Monday to call because “it’s the weekend.” Mold does not take weekends off. San Antonio’s heat and humidity mean a Saturday-night water heater leak is a colonization risk by Monday afternoon. A live person answers our phone 24 hours a day, seven days a week, because water damage does not wait for business hours and neither do we.
- Telling yourself it is “just a small leak” because the visible puddle was small. The visible puddle is the water that pooled before gravity carried the rest elsewhere. A pinhole leak in a supply line can release dozens of gallons over several hours, most of it running behind cabinets, under flooring, and into wall cavities where you will never see it.
- Attempting DIY structural drying for a toilet overflow. A toilet overflow is, by definition, gray water at best, and black water if the bowl contained any solid waste. No amount of drying makes it clean. The affected area requires antimicrobial treatment and material assessment for disposal.
When to Call a Professional
Call a professional the moment water has touched drywall, carpet, cabinetry, subfloor, or any cavity you cannot see into. That is the single condition that should end the DIY conversation, because structural drying requires equipment and expertise that no committed homeowner can replicate, regardless of skill or effort. Call a professional immediately for any Category 2 or Category 3 water, any water that has been present more than two hours, any water from a source you cannot identify, and any water event paired with an odor or visible staining. Call a professional whenever a storm has compromised the envelope of your home – roof, windows, doors – because water tracking through building materials can carry contamination from the attic and wall cavities. If you are not certain whether your situation meets the threshold, call anyway. If you are in San Antonio and dealing with any of these scenarios, Marsh Water Damage San Antonio home offers free estimates. Call (325) 252-3917 and speak to a live person, any hour, any day.
Frequently Asked Questions
Most residential water extractions in San Antonio run between $1,200 and $3,000 when the job is limited to standing water removal and two to three days of structural drying equipment. Jobs that involve wall cavity drying, cabinet drying, or multiple rooms typically land between $3,000 and $6,000. Full restoration including drywall replacement, painting, and reconstruction starts around $6,000 and can exceed $15,000 depending on square footage and finish level. These are not quotes; they are market ranges based on jobs we perform across the San Antonio area. Every job we do receives a written price before any work begins. Call (325) 252-3917 for a free estimate based on your specific damage.
That depends on your policy, the cause of the water, and how quickly you act. Sudden and accidental events like a burst pipe or a water heater failure are typically covered under standard Texas HO-3 policies. Gradual leaks, groundwater intrusion, and neglect are typically excluded. Mold coverage is usually sub-limited at $5,000 to $10,000, regardless of actual remediation cost. We work directly with insurance adjusters, provide photo-documented assessments, and can help you navigate the claim process. We have been doing this since 2005 and understand how Texas insurers evaluate water claims.
A live person answers our phone 24 hours a day, seven days a week, including holidays. In most cases, we can have a technician on-site in San Antonio within one to two hours of your call, depending on your location and the time of day. Emergency water extraction and equipment placement is done as a same-day service whenever possible. We do not use voicemail, callback queues, or chatbots. You call, a person answers, and we dispatch. Call (325) 252-3917 now if you are dealing with active water.
If mold is growing on a non-porous surface like tile, glass, or metal, you can clean it with a proper antimicrobial cleaner and expect it to stay gone. If mold is growing on drywall, carpet, insulation, or wood, cleaning the surface is cosmetic. The colony’s roots are inside the material, and painting over it seals the mold in with a food source and residual moisture. The mold will return. Proper remediation requires removing affected porous materials and treating the framing behind them. We perform Mold Remediation in San Antonio with documented moisture readings and antimicrobial treatment at every job.
Document everything first: photograph the interior and exterior damage, and if safe, photograph the roof from the ground. Do not get on the roof. Steep-roof work after a storm is dangerous, and wet shingles are slippery. Place buckets or tarps to catch active drips, move contents away from the affected area, and call a professional contractor with storm restoration experience. If the storm produced significant water intrusion, you likely need full Storm Damage Restoration in San Antonio, not just a tarp and a patch. We help homeowners document storm damage, coordinate with insurers, and restore the home to pre-loss condition.
Threshold Verified is the safety protocol that our technicians are held to before they ever knock on your door. Every technician is background-checked, identity-verified, and sent to you by name and photo before the visit. They show a photo ID badge at the door, every time. For homeowners who are often alone, parents with young children, and older homeowners, knowing exactly who is coming before the knock makes a real difference. That standard was built into our company since we started in 2005, part of the Threshold Group family of restoration companies. Every job also includes a written price before work begins, a written guarantee, and a 365-Day Done Right Promise: if the repair is not right within a full year, we make it right. No arguments, no fine print.
The Bottom Line
The DIY-vs-professional decision in water damage is not about your skill level or your budget. It is about three facts: where the water came from, how long it sat, and what materials it touched. Clean water on tile for less than two hours is a housekeeping job. Anything else – any porous material contact, any contaminated source, any timeline beyond two hours – is a structural drying job that requires professional equipment and professional training to execute correctly. In San Antonio’s heat and humidity, the margin for error is thinner than the national guides suggest. Document everything before you touch anything. Act within 48 hours. If you are not certain, call us. A free estimate costs less than a missed mold colony. For Water Damage Restoration in San Antonio, call (325) 252-3917 – a live person answers, day or night.
Written by Tobias Reyner, Owner at Marsh Water Damage San Antonio, serving San Antonio since 2005.
See the difference
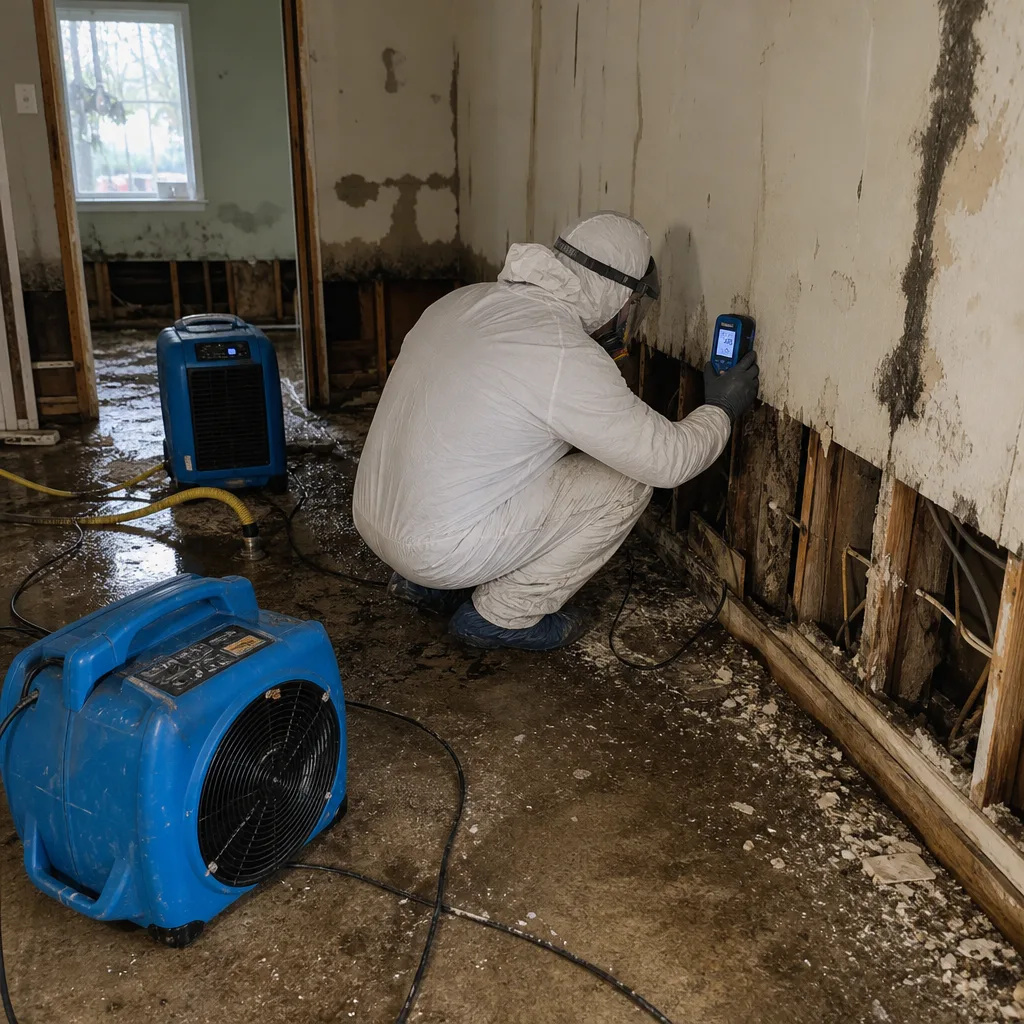 Before
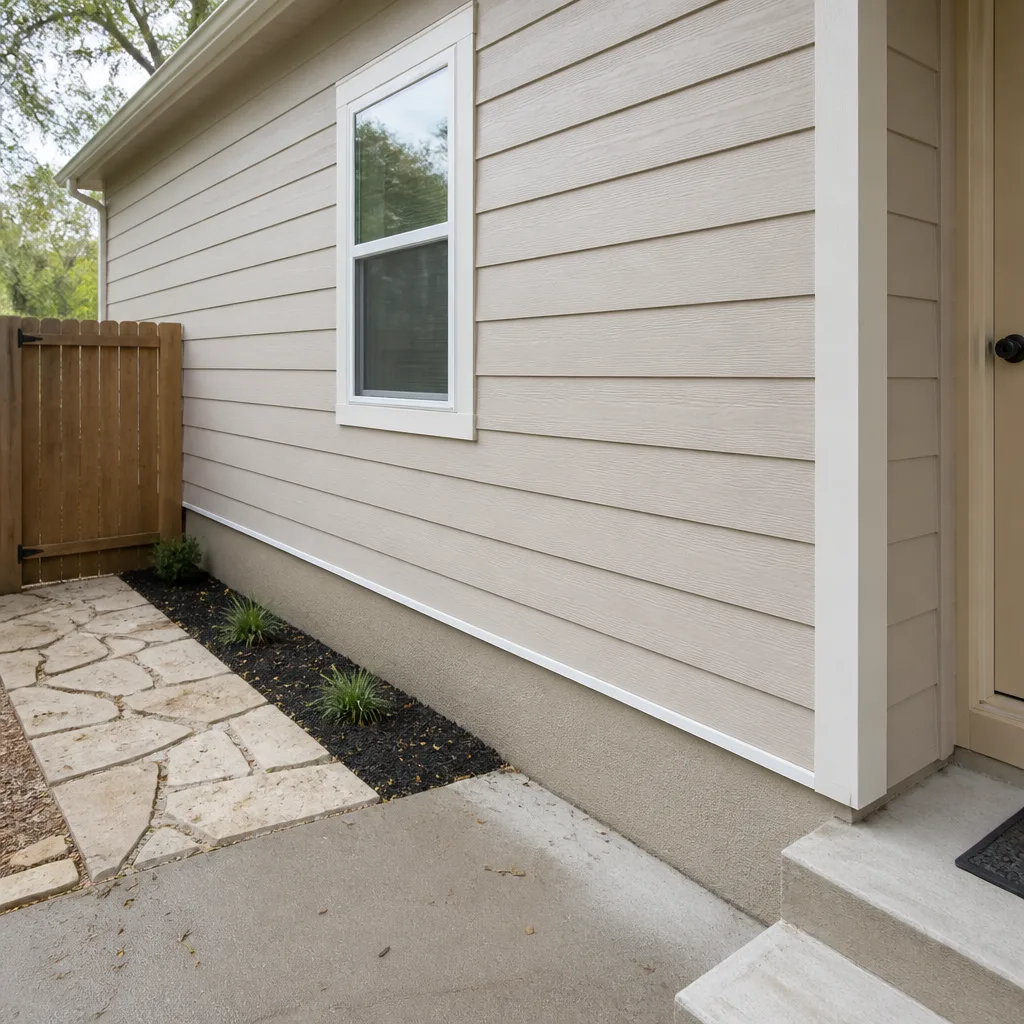 After
After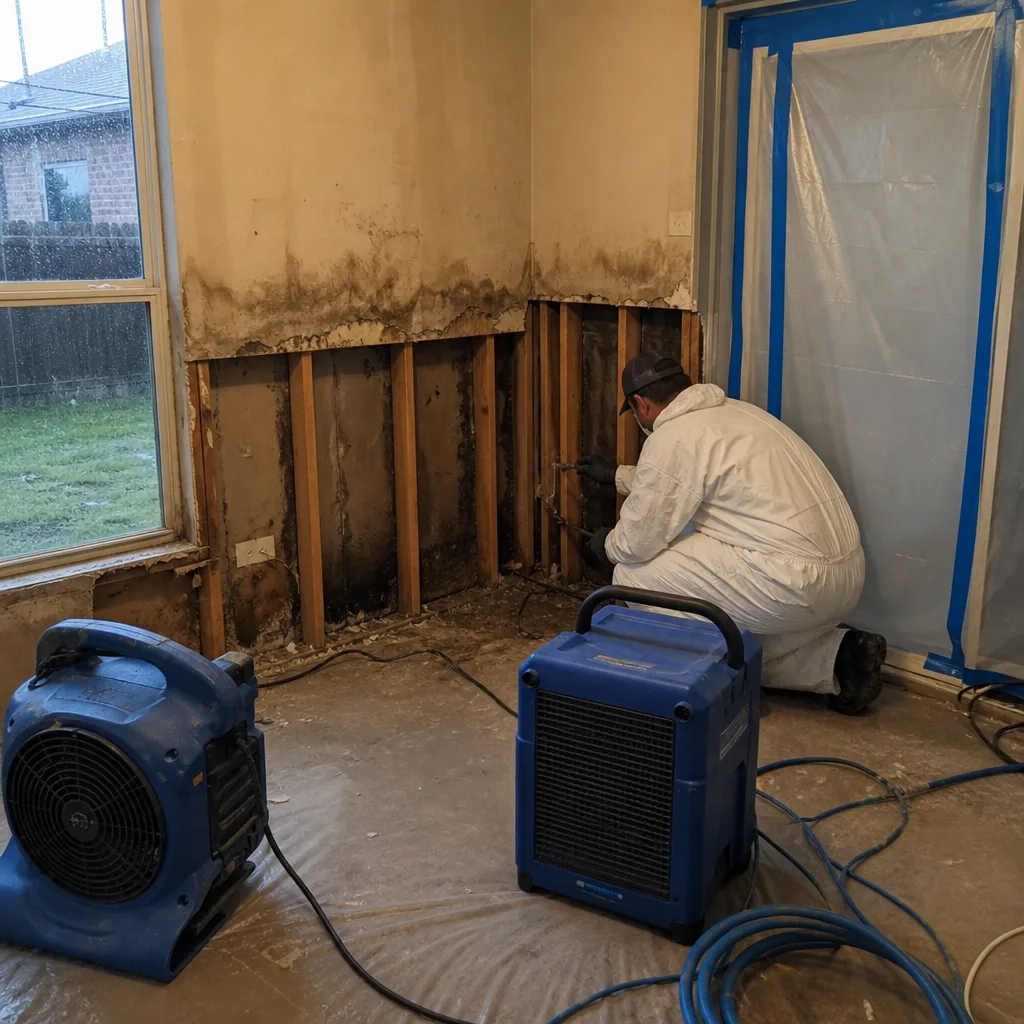 Before
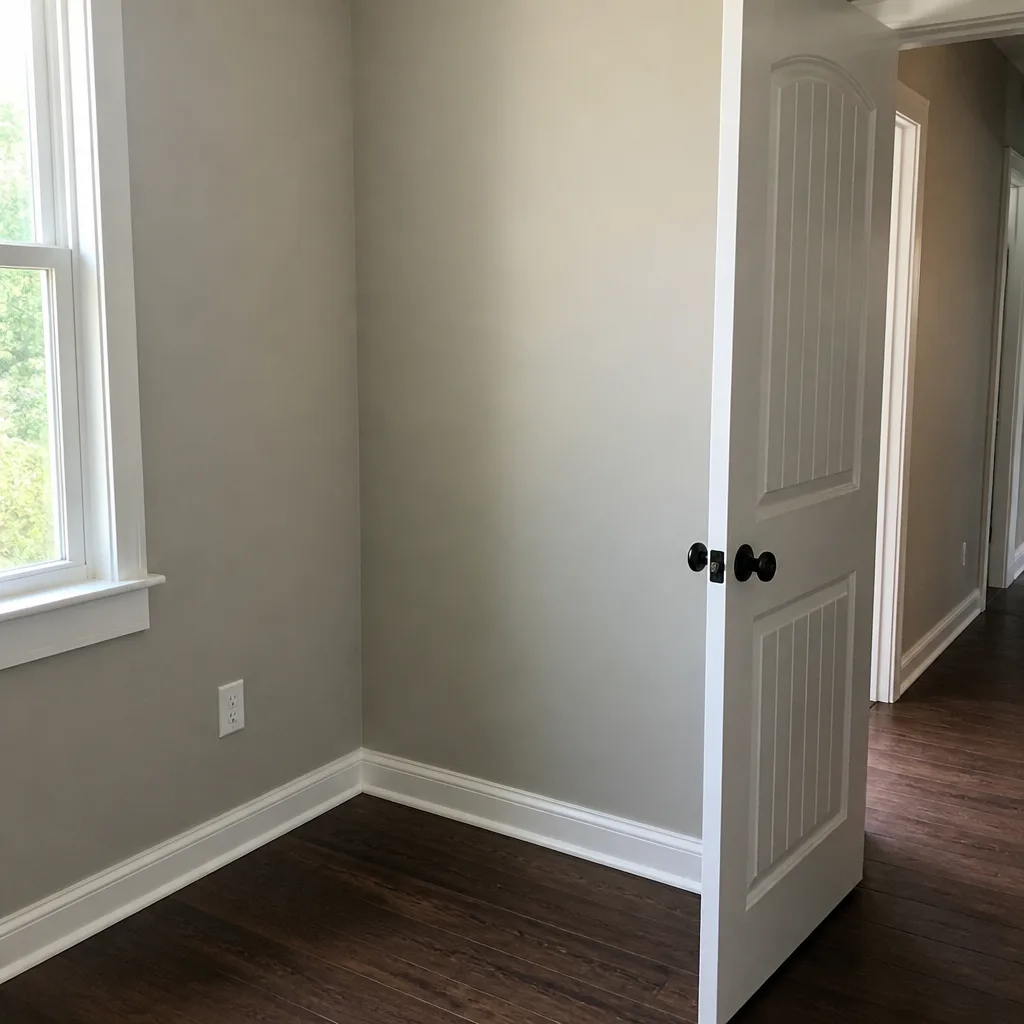 After
After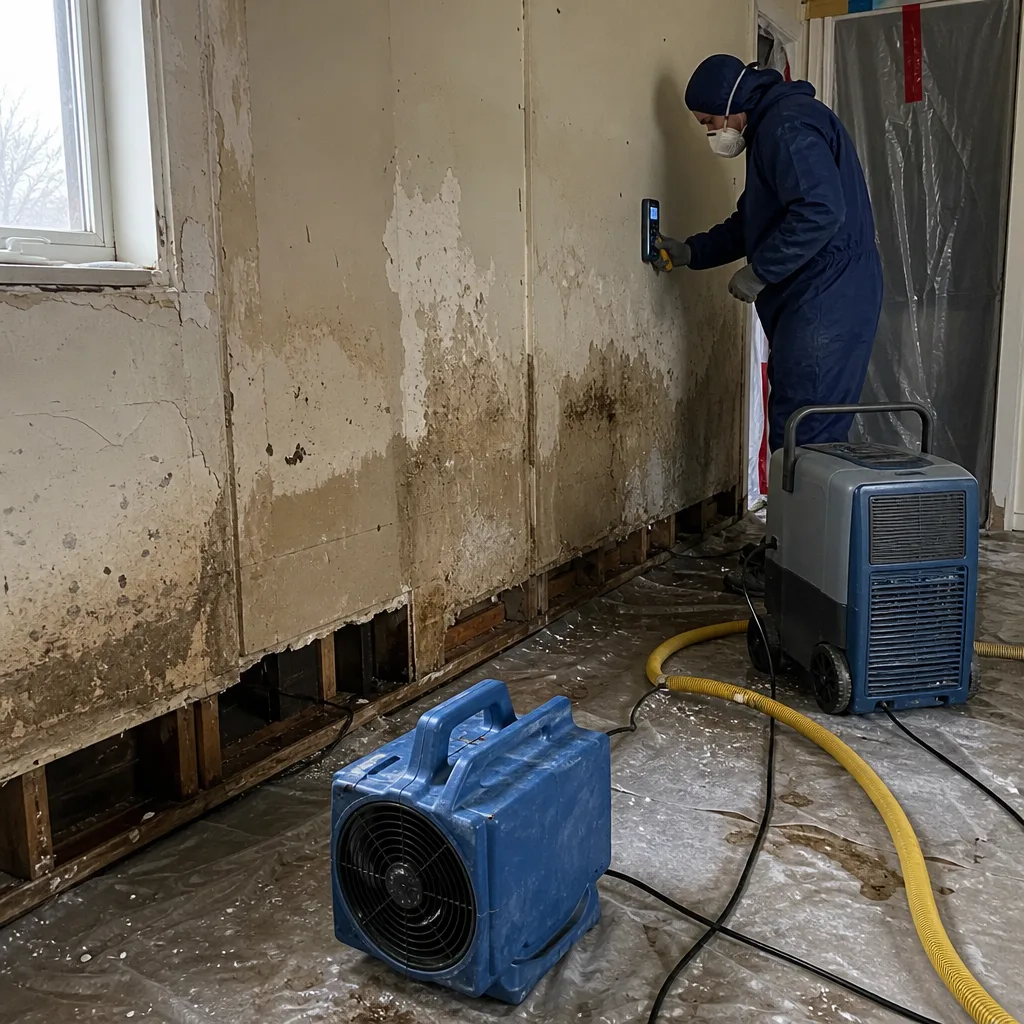 Before
 After
After