
Last updated October 16, 2026
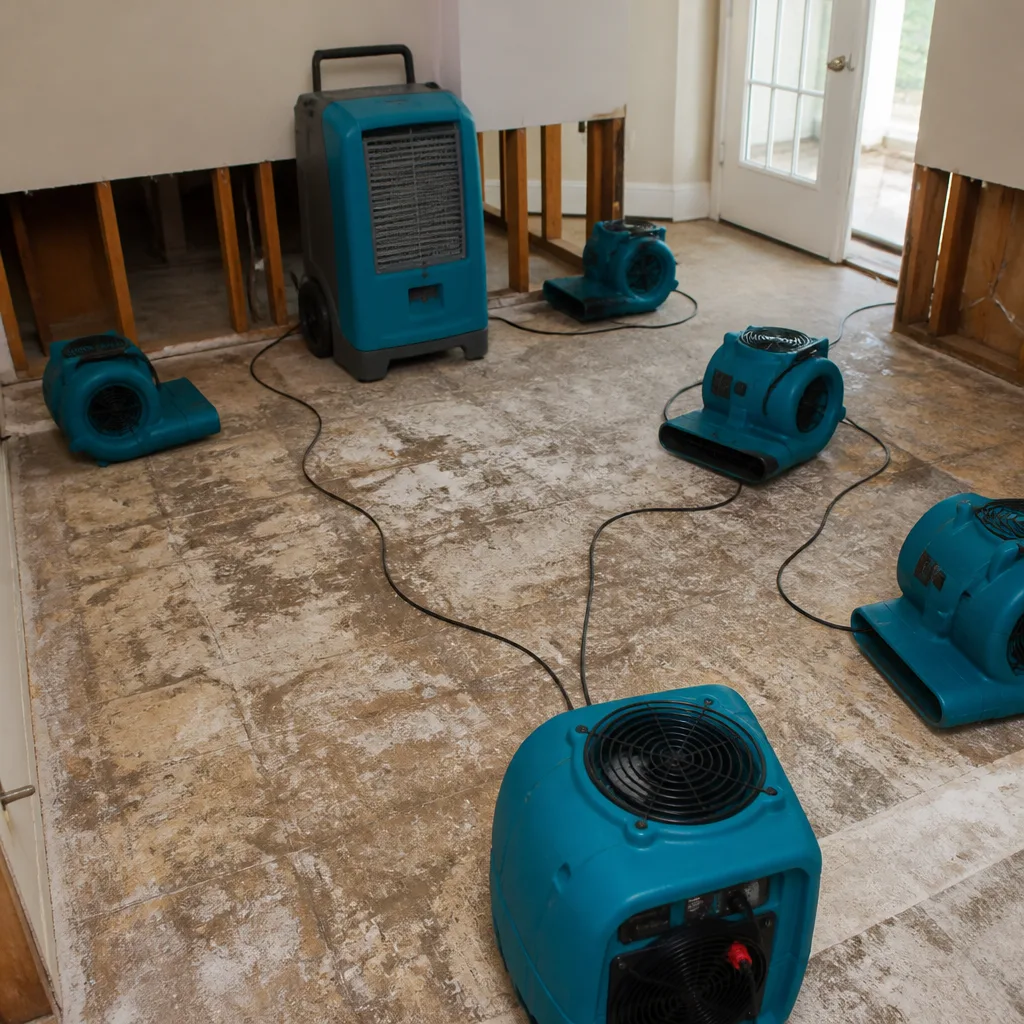 Water damage drying
 Fire & smoke cleanup
 Mold remediation
 Storm response
 Sewage cleanup
 Reconstruction
Free visual inspection and a written scope of work before any mitigation begins - photos, moisture readings, and drying logs go in your claim file
The scope we write is the scope we bill. Anything new gets shown to you, in writing, before we touch it.
Get your free estimateWater Damage Restoration Maintenance Checklist for San Antonio Homeowners
Here’s a number that should make every San Antonio homeowner pause: insurance industry data shows that roughly 40% of homeowners who file one water damage claim will file a second one within three years. And in most cases, that second claim happens at the same property location, for a reason that was preventable. The frustrating part? Almost no one tells you what to do after the restoration crew packs up and leaves. Restoration companies dry the structure, repair the damage, hand you an invoice, and drive away. What they rarely hand you is a maintenance routine designed to catch the conditions that caused the original event. Our Water Damage Restoration guide is that missing document. It’s a month-by-month checklist calibrated to San Antonio’s specific risk calendar: spring flash floods, summer AC condensate overload, and fall moisture re-entry after drought cracking. If you’ve had water damage before, or you want to avoid it entirely, this is how you stay ahead of the water.
Restoration work we handle
Quick Answer
The Complete Guide to Damage Restoration in San Antonio describes how a water damage restoration maintenance checklist is a structured routine of monthly, quarterly, and seasonal inspections that catch the conditions that cause water intrusion before they become full-blown losses. It focuses on the five interior moisture zones, plumbing supply line age and material, AC condensate drainage, and the early post-restoration signs of incomplete drying. Running this checklist takes about 20 minutes per month and is the single most effective way to avoid becoming part of that 40% repeat-claim statistic.
Table of Contents
- Why San Antonio Needs a Specific Checklist
- The Month-by-Month Maintenance Calendar for San Antonio
- The Five Interior Spots to Check Every 90 Days
- How to Inspect a Restored Area for Signs of Incomplete Drying
- Plumbing Supply Lines: The Hidden Variable Most Checklists Skip
- How to Document Your Inspections for Insurance Purposes
- Common Mistakes to Avoid
- When to Call a Professional
- Frequently Asked Questions
- The Bottom Line
Why San Antonio Needs a Specific Checklist
San Antonio has a water damage profile that’s different from Houston, Dallas, or Austin. We sit on the edge of Flash Flood Alley, where sudden, intense rain events can drop several inches of water in under an hour. Our soil is largely expansive clay that shrinks during drought and swells during wet periods, creating foundation movement that opens hairline cracks in slabs and exterior walls. And our summers run long and hot, which means air conditioning systems work harder here than almost anywhere else in Texas, generating gallons of condensation daily that has to go somewhere.
Those three factors mean generic water damage prevention advice doesn’t fully serve San Antonio homeowners. A checklist written for a northern climate focuses on frozen pipes and ice dams, things we rarely deal with here. What we do deal with: flash flood water entering through foundation cracks and garage doors, AC condensate lines clogging with algae in the heat, supply lines failing after years of thermal expansion and contraction, and post-drought re-entry of moisture through gaps that opened during the dry months. This is what keeps water damage restoration in San Antonio busy year-round, and it’s what this checklist is built around.
We’ve also seen a pattern in our work since 2005: the homes that have a Marsh Water Damage San Antonio home maintenance routine, even a simple one, catch problems when they’re still $300 plumbing calls instead of $15,000 restoration projects. The homes that don’t have a routine find out about problems when the ceiling caves in. The difference is almost always a documented habit, not luck.
The Month-by-Month Maintenance Calendar for San Antonio
San Antonio’s risk calendar doesn’t follow the traditional four seasons. It follows a pattern of rain events, heat, and drought. Here’s what to do each month, organized around the specific risks that month brings.
March to April: Pre-Flash Flood Preparation
- Clean all gutters and downspouts. San Antonio’s live oaks drop leaves and pollen through late winter, and clogged gutters are the number one cause of water pooling against foundations during spring storms.
- Check that downspout extensions discharge at least 6 feet from the foundation. In neighborhoods like Alamo Heights and Terrell Hills, where homes sit on sloped lots, this matters even more. Water naturally flows toward the foundation on a slope.
- Inspect the exterior for cracks wider than 1/16 inch. Expansive clay soil opens new cracks every year as it cycles through wet and dry periods. Seal small cracks with a concrete or masonry caulk. Anything wider than 1/8 inch deserves a foundation expert’s look.
- Test your sump pump if you have one. Pour a bucket of water into the pit and verify the pump activates and discharges properly. Most sump pump failures happen in the first storm because the float switch seized over the idle months.
May: Humidity Ramp-Up
- Check your AC condensate drain line. Pour a cup of white vinegar into the drain line access point to kill early algae growth. Algae is the primary cause of condensate line clogs in San Antonio, and a clogged line will back up into the air handler and pour water through your ceiling.
- Set your indoor relative humidity target between 45% and 55%. Anything above 60% for extended periods invites microbial growth in walls and carpets. A basic hygrometer costs under $20 and tells you if your AC is actually dehumidifying or just cooling air.
- Walk your exterior perimeter after rain. Look for areas where water pools within 10 feet of the foundation. In newer subdivisions on the far west side, poor lot grading is common, and the water needs to be directed away.
June to August: AC Overload Season
- Inspect your condensate drain line monthly during these three months. Your AC is running nearly constantly, generating more condensation than any other time of year. The algae grows faster in the heat.
- Check the drip pan under your air handler. If it holds standing water or shows water stains, your primary drain line is already partially clogged. This is a fix that costs under $100 if caught early.
- Monitor your water bill for unexplained spikes. An increase of 20% or more without a corresponding change in usage is often the first sign of a slab leak or a running toilet that’s quietly causing damage.
- Listen for the sound of running water when all fixtures are off. In the quiet of the early morning, walk your house and listen. A slab leak under the foundation makes a faint rushing sound that homeowners often dismiss as “the AC.”
September to October: Drought Recovery and Re-Entry
- Inspect exterior caulking and seals around windows and doors. After a San Antonio summer, the intense sun has dried and cracked sealant. When fall rains return, water enters through these gaps.
- Check your irrigation system for leaks and overspray. The drought ends, rains return, and irrigation systems that ran hard all summer may have developed cracked heads or leaking valves. Overspray hitting the foundation is a slow, steady source of moisture intrusion.
- Re-examine the soil grade around your foundation. Drought causes soil to shrink and pull away from the slab. Fill any gaps with non-expansive fill soil and slope the grade away from the foundation at roughly 1 inch per foot for the first 6 feet.
November to February: The Overlooked Season
- Inspect washing machine supply hoses. If they’re rubber, replace them with braided stainless steel. Rubber hoses fail without warning and can release over 500 gallons of water per hour. This is a $40 fix that prevents a $10,000 loss.
- Check under every sink for slow drips or water stains. Supply line connections and shutoff valves corrode over time, and the first sign is often a white mineral deposit or a green stain on the copper.
- Flush your water heater. Sediment builds up in the tank, causing corrosion at the bottom. A water heater that fails catastrophically releases 40 to 50 gallons of water into the home. Drain a few gallons from the tank once during this period.
- Locate and test your whole-home water shutoff valve. In an emergency, you need to know where it is and that it works. Valves seize when not used for years. Turn it off and back on once during this season, and put a tag on it so every adult in the home knows its location.
Key Takeaways for the Monthly Calendar
- March and April are about preparing for flash flood season, focusing on gutters, downspouts, and exterior cracks.
- May through August is AC condensate season, when clogged lines and overflowing drip pans cause the most ceiling damage.
- September and October are about re-sealing after drought shrinkage and fixing irrigation issues.
- November through February is appliance and plumbing season, when supply lines and water heaters fail most often.
The Five Interior Spots to Check Every 90 Days
After any water damage restoration, and frankly for any homeowner who wants to avoid water damage in the first place, there are five interior locations that deserve a quarterly check with a pin moisture meter. A basic meter costs about $20 to $40 and gives you readings as a percentage. Wood and drywall in a healthy state read between 6% and 12% in San Antonio’s climate. Here’s what to check and what the numbers mean.
1. Under Every Sink
Open the cabinet doors under every sink in the home, including bathrooms, kitchen, laundry room, and any wet bar. Run your hand along the bottom of the cabinet and the back panel. Look for swollen wood, discoloration, or a musty smell. Point the pin meter at the cabinet base. A reading above 15% means water has been sitting there. Above 20% means an active, ongoing leak that needs immediate attention.
2. The Interior Face of Exterior Walls
Water entering through exterior cracks, failed caulking, or missing flashing often travels inside the wall cavity before showing up as visible damage. Check interior drywall on exterior-facing walls, especially below windows and around door frames. Soft spots, paint bubbling, or a pin meter reading above 15% indicates moisture intrusion from the outside. This is common in San Antonio after intense wind-driven rain, when water is forced through gaps that a normal rain wouldn’t penetrate.
3. The Base of the Water Heater
The water heater is the single most common source of catastrophic interior flooding in San Antonio homes. Check the area around the base every 90 days. Look for rust on the tank, water on the floor, or mineral deposits on the pipes above. A pin meter reading on the drywall behind the water heater above 15% means the tank has been slowly leaking. Most water heater failures give weeks or months of warning signs before the tank ruptures, but only if someone is looking.
4. Toilet Bases and Supply Valves
Toilet supply lines and wax rings fail quietly. Check the floor around every toilet for water stains, soft spots in the vinyl or tile, or a slight rocking motion when you press on the bowl. A toilet that rocks has a failing wax ring, and every flush releases a small amount of water onto the subfloor. Run the pin meter around the toilet base on the floor. Above 15% means subfloor saturation. Also check the supply valve behind each toilet for drips or green corrosion, a sign of a slow leak that’s been active for months.
5. The Garage Wall Shared with the House
In many San Antonio homes, the water heater, laundry hookups, and sometimes a bathroom are located in the garage or on the shared wall with the house. This wall is a common water damage location that nobody checks. Inspect the baseplate of the shared wall, the area around any plumbing penetrations, and the water heater closet if present. Water from a garage-located leak often seeps under the wall into the adjacent living space, causing damage that’s hidden under flooring for weeks. A pin meter reading above 15% on the shared wall base or the adjacent interior wall means water is wicking through.
If any of these readings come back above 15%, that’s the threshold to call a professional. Above 20% means you likely have an active leak or a previous leak that was never properly dried. In our restoration work, we use the same moisture meters and mold remediation in San Antonio protocols that the IICRC and RIA standards require, and we’ve learned that what looks dry on the surface rarely is. The pin meter tells the truth.
How to Inspect a Restored Area for Signs of Incomplete Drying
If you’ve already had water damage restoration done, your most important maintenance task is verifying that the drying was genuinely complete. Restoration companies take psychrometric readings (measuring the moisture in the air and materials) throughout the drying process, but the real test is what happens over the following weeks and months. These are the early signs that drying wasn’t complete, and they should trigger a call back to your restoration company.
Paint bubbling or peeling on the restored area. This is the most visible sign of incomplete drying. Moisture trapped behind or within the drywall continues to push against the paint, creating small blisters or causing the paint to lose adhesion. If you see bubbling on a wall that was restored three to six months ago, the moisture was never fully dried out, and the wall cavity likely still holds elevated moisture.
Baseboard separation from the wall. When drywall and framing dry at different rates, or when moisture remains in the baseboard material, the baseboard pulls away from the wall. A gap of even 1/16 inch at the top of the baseboard is worth investigating. Put a pin meter on the baseboard and the drywall behind it. If either reads above 15%, the drying wasn’t done, or a new moisture source has appeared.
Grout discoloration or cracking in tile areas. After a flood or pipe burst in a tiled area, the grout absorbs water along with the subfloor. If the subfloor wasn’t dried thoroughly, residual moisture wicks up through the grout over the following months, causing the grout to darken, crack, or develop a white mineral efflorescence. In San Antonio’s humid spring and summer months, this process accelerates.
A persistent musty or damp smell in the restored area. Our noses are surprisingly reliable moisture detectors. A musty odor in a room that was professionally dried usually means microbial growth has begun somewhere hidden: inside the wall cavity, under the baseboard, or in the subfloor. This is a call-now situation, not a wait-and-see situation. Mold growth in a warm, humid environment like San Antonio can establish itself within 48 to 72 hours of water exposure.
Flooring that feels springy or spongy underfoot. Engineered wood, laminate, and vinyl plank flooring all respond to subfloor moisture by losing rigidity. If the restored area feels different underfoot than it did before the water event, the subfloor may still hold moisture. This is especially common when the original restoration was done with air movers only and no dehumidification, a shortcut we see too often in the industry.
Plumbing Supply Lines: The Hidden Variable Most Checklists Skip
Almost every water damage prevention checklist focuses on gutters, sump pumps, and caulking. Almost none of them address the single most common cause of catastrophic interior water damage: the age and material of your plumbing supply lines. We’ve seen this pattern hundreds of times in San Antonio homes: the checklist gets followed, the gutters are clean, the AC drain is cleared, and then a 25-year-old supply line fails behind a wall and floods the living room.
Here’s what you need to know about supply line materials and why age matters so much.
Polybutylene pipes (1978 to 1995). If your home was built between 1978 and 1995, it may have polybutylene supply lines. This gray plastic pipe was installed in millions of homes before it was pulled from the market due to a catastrophic failure rate. Polybutylene reacts with chlorine in municipal water and becomes brittle over time. The failure doesn’t happen at the fitting; it happens in the middle of the pipe run, often inside a wall or under the slab. If you have polybutylene, every day it remains in service is a gamble. Replacement is the only reliable fix.
Copper pipes (pre-1990s). Copper is a good material, but it has a failure mode: pinhole leaks caused by corrosion from the inside. San Antonio’s water chemistry, particularly the pH and mineral content, can be mildly corrosive to copper over decades. The first sign is often a green stain on the outside of the pipe or a pinhole leak at a joint. By the time pinholes appear, they tend to multiply. If you have copper pipes from the 1970s or 1980s and you’ve already had one pinhole leak, expect more.
CPVC and PEX (1990s to present). These materials are generally reliable, but they have their own vulnerabilities. CPVC becomes brittle with age and is prone to cracking at glued joints. PEX is flexible and forgiving, but it’s susceptible to UV damage during storage and can fail at poorly placed fittings. Neither material is bad; both simply need to be installed correctly and protected from physical stress.
The check you can do yourself: find your water meter, note the reading, and make sure no water is running in the home. Wait 30 minutes, then re-read the meter. If the number moved, you have a leak somewhere in the supply system. Even a small movement can indicate a slab leak that will eventually surface. This is a check worth doing quarterly, and it’s one that almost no maintenance checklist includes.
How to Document Your Inspections for Insurance Purposes
Here’s a scenario we see too often: a homeowner discovers water damage, files a claim, and the insurance adjuster asks what maintenance was done to prevent this. The homeowner says they checked things regularly, but they can’t prove it. The claim gets reduced or denied due to “lack of maintenance.” This is entirely avoidable with a simple documentation habit.
Your documentation doesn’t need to be complex. A phone with a camera and a notes app is sufficient. What matters is consistency and proof that you were doing the right things before the damage occurred. Here’s the system:
- Take date-stamped photos during every inspection. Photograph the areas you check: under sinks, the water heater, the AC condensate line, the exterior perimeter. Your phone stamps the date and time automatically. These photos are your proof of due diligence.
- Keep a simple maintenance log. A notebook or a note on your phone works. Record the date, what you checked, what you found, and what you did. A one-sentence entry like “Checked under kitchen sink, dry, no issues” is perfectly adequate. Over a year, this log becomes a compelling document.
- Save receipts for any maintenance or repairs. Replaced a supply line? Keep the receipt. Had a plumber clear the condensate line? Keep that invoice. These receipts demonstrate that you responded to issues when you found them, which is exactly what insurers want to see.
- Photograph any condition you decide to monitor. If you find a small crack or a slow drip and decide to watch it, photograph it and note the date. If it later becomes a problem, you have proof that you identified it early and made a reasonable decision.
- For restored areas, photograph the completed restoration work. After any storm damage restoration in San Antonio or water damage restoration, photograph the finished area. If the same area fails again within a year, you have a baseline showing what “done” looked like.
This documentation is also why Marsh Water Damage San Antonio gives every customer a written scope of work and a written guarantee before and after every job. When a repair fails, the documentation tells the story: what was wrong, what was done, and what should have prevented recurrence. The 365-Day Done Right Promise is built on that paper trail. If something isn’t right within a full year, we make it right, and the free second visit is included automatically, not as something you have to negotiate.
Common Mistakes to Avoid
- Checking only visible surfaces. Water damage in San Antonio homes hides behind walls, under floors, and inside cabinets. The pin moisture meter check on the five interior spots matters because visible inspections miss most early-stage moisture intrusion. Don’t trust the surface; trust the reading.
- Ignoring small drips because they’re “minor.” A slow drip under a sink in a San Antonio summer is a mold incubator. Within a week, that drip has raised the humidity inside the cabinet enough to support microbial growth. The damage from a long slow leak is often worse than a sudden pipe burst because it goes unnoticed.
- Assuming the AC condensate line doesn’t need attention. This is one of the most common sources of ceiling damage in San Antonio. The heat and humidity here create ideal conditions for algae growth in the condensate line, and a clogged line backs water up into the air handler, where it overflows through the ceiling. The monthly vinegar flush takes three minutes and prevents a three-week repair.
- Sealing cracks without addressing drainage. If water is pooling against the foundation, sealing the crack without fixing the drainage just moves the water to a new crack. The drainage fix comes first. In San Antonio’s clay soil, the grading around the foundation changes every year, and it needs annual attention.
- Skipping documentation because it feels like overkill. The homeowner who can’t prove they maintained their home is at the mercy of the insurance adjuster’s assumptions. Ten minutes of documentation per month is the cheapest insurance policy you’ll ever buy.
- Replacing a water-damaged material without drying the cavity behind it. We’ve seen homeowners pull out wet drywall, spray some bleach, and close the wall back up. What they’ve done is trap moisture inside the wall cavity and create a sealed mold chamber. Drying must be done with professional equipment and verified with moisture readings before any material is reinstalled.
- Treating every water event as the same. Clean water from a supply line, gray water from a washing machine, and black water from a sewer backup require completely different restoration approaches. Treating them the same is dangerous. Category 3 water requires professional extraction, sanitization, and often material removal, not just drying.
When to Call a Professional
Some situations call for more than a maintenance checklist. Call a professional immediately if you find active water flowing inside a wall or ceiling, if your pin meter reads above 15% in an area that should be dry, or if you see visible mold growth covering more than 10 square feet. A sewage backup or any water event involving Category 3 water always requires professional intervention with full protective equipment and proper sanitization. If a post-restoration area is showing signs of incomplete drying, like paint bubbling or a persistent musty smell, that’s a callback situation, not a wait-and-see scenario. Marsh Water Damage San Antonio offers free estimates in San Antonio, and our technicians arrive with the appropriate equipment: professional drying gear from manufacturers like B-Air and Injectidry, and the IICRC and RIA training to use it correctly. Call (325) 252-3917 for a free estimate.
Frequently Asked Questions
Run the full checklist monthly, with the five interior pin meter checks done every 90 days. The monthly routine takes about 20 minutes, and the quarterly checks add about 15 minutes. Consistency matters more than perfection; a partial check done regularly beats a thorough check done once.
A reading above 15% on drywall, wood, or subfloor in a San Antonio home indicates elevated moisture that requires investigation. Above 20% indicates active water intrusion or a previous leak that was never properly dried. Either way, call a professional at that point rather than waiting for visible damage to appear.
San Antonio’s long, hot summers mean air conditioners run constantly, generating gallons of condensation daily. The warm, humid environment inside the condensate line is perfect for algae growth, which clogs the line and causes water to back up into the air handler and overflow through the ceiling. The monthly vinegar flush is the simplest high-impact preventive maintenance you can do.
Yes, but the damage is different from a pipe burst. A running toilet wastes hundreds of gallons per month and raises your water bill, but the water goes down the drain, not onto the floor. The real risk is a leaking toilet supply valve or a failing wax ring, which releases water onto the subfloor with every flush. Check for rocking or soft spots around the toilet base.
Insurance coverage depends on the cause of the damage and the specific policy language. Sudden and accidental events, like a burst pipe or a storm, are typically covered. Damage from long-term neglect or lack of maintenance is often denied or reduced. This is exactly why documenting your maintenance routine matters; with a log and photos, you can demonstrate that you were doing the right things and that the event was sudden and unforeseeable.
Watch for the signs of incomplete drying over the months following the restoration: paint bubbling, baseboard separation, grout discoloration, persistent musty smells, or flooring that feels spongy. Any of these indicates that moisture was left behind, and the drying was not thorough. In our work, we use professional-grade drying equipment and follow IICRC and RIA standards precisely because we know these late-stage failures are completely avoidable with proper drying. If you’re seeing these signs after a restoration by anyone, call for a professional re-evaluation, and see our more guides & resources for additional prevention tips. Call (325) 252-3917 for guidance.
The Bottom Line
Water damage in San Antonio is rarely a single, isolated event. It’s usually the end of a chain of small conditions that were building for months or years: a gutter that wasn’t cleaned, a condensate line that wasn’t flushed, a supply line that was past its service life, a crack that opened during the drought and was never sealed. The maintenance checklist in this guide is designed to break that chain. Twenty minutes per month, a mold remediation awareness that prevents problems before they start, and a quarterly pin meter check across five interior locations is all it takes to catch most water damage causes when they’re still cheap fixes. The alternative is waiting for the ceiling to fall in and calling us afterward. We’re happy to help either way, but we’d rather help you avoid the mess entirely. And if you do need us, call (325) 252-3917. A live person answers, every time.
Written by Tobias Reyner, Owner at Marsh Water Damage San Antonio, serving San Antonio since 2005.
See the difference
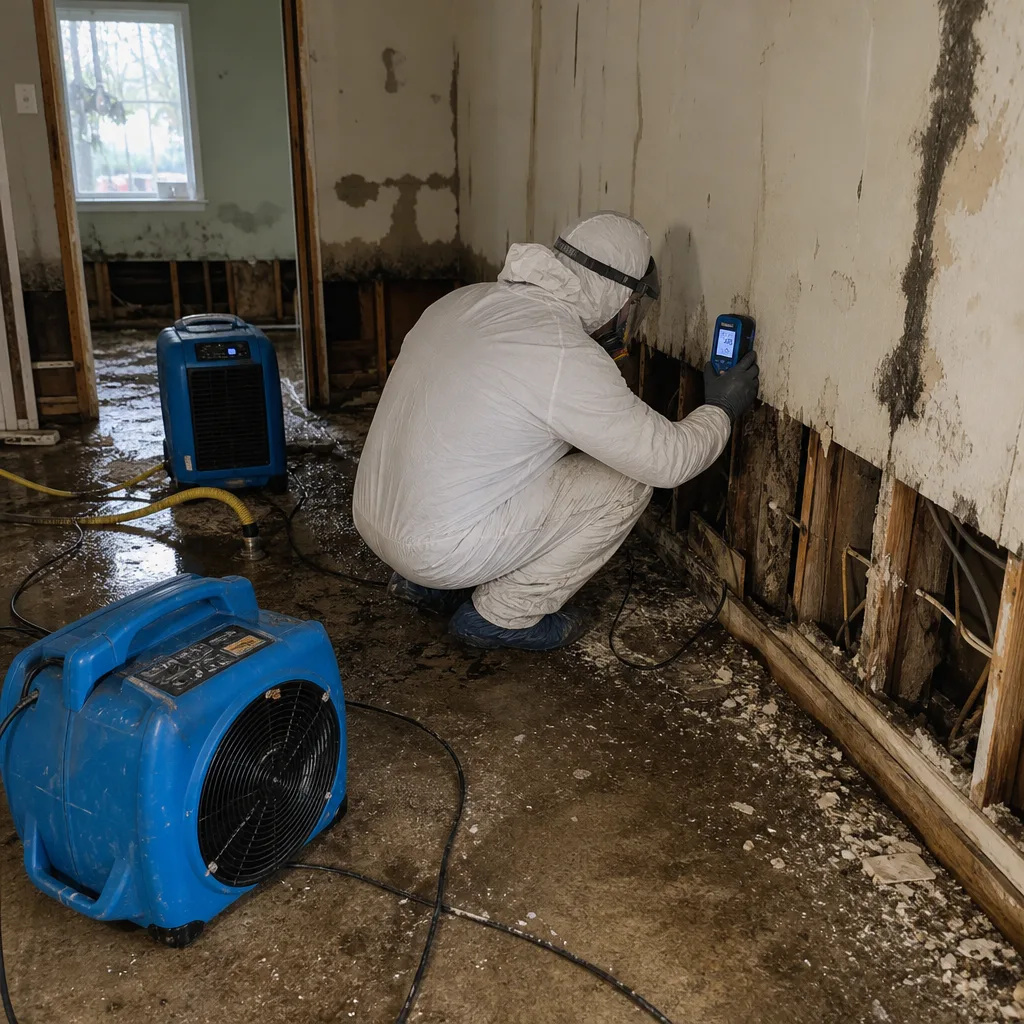 Before
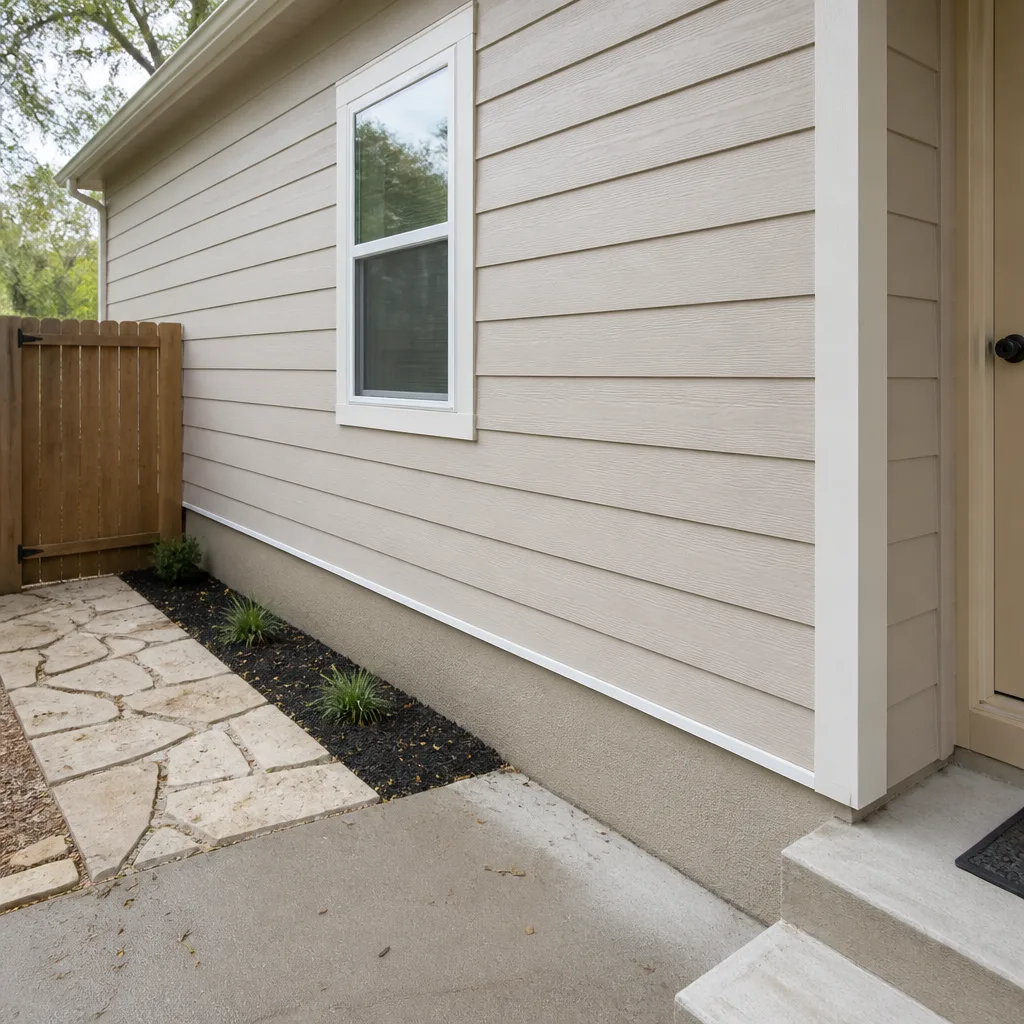 After
After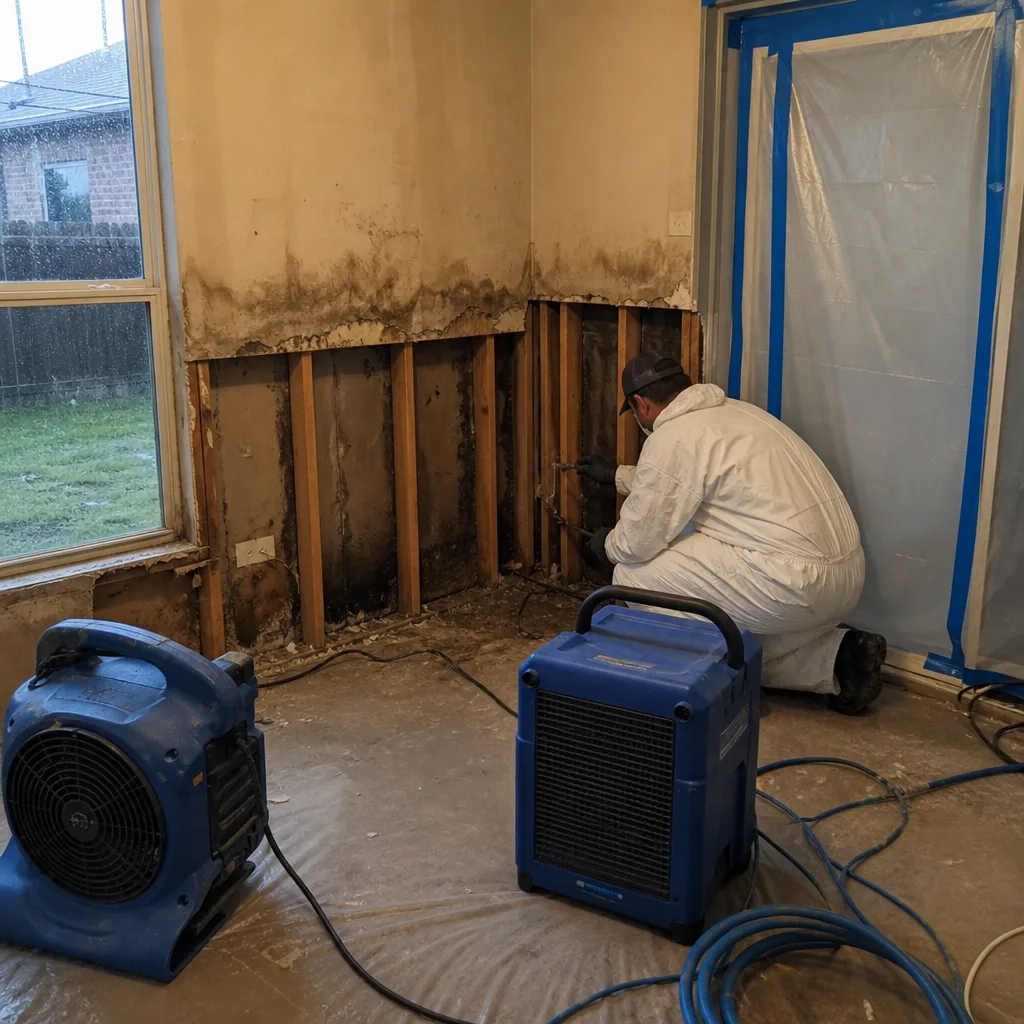 Before
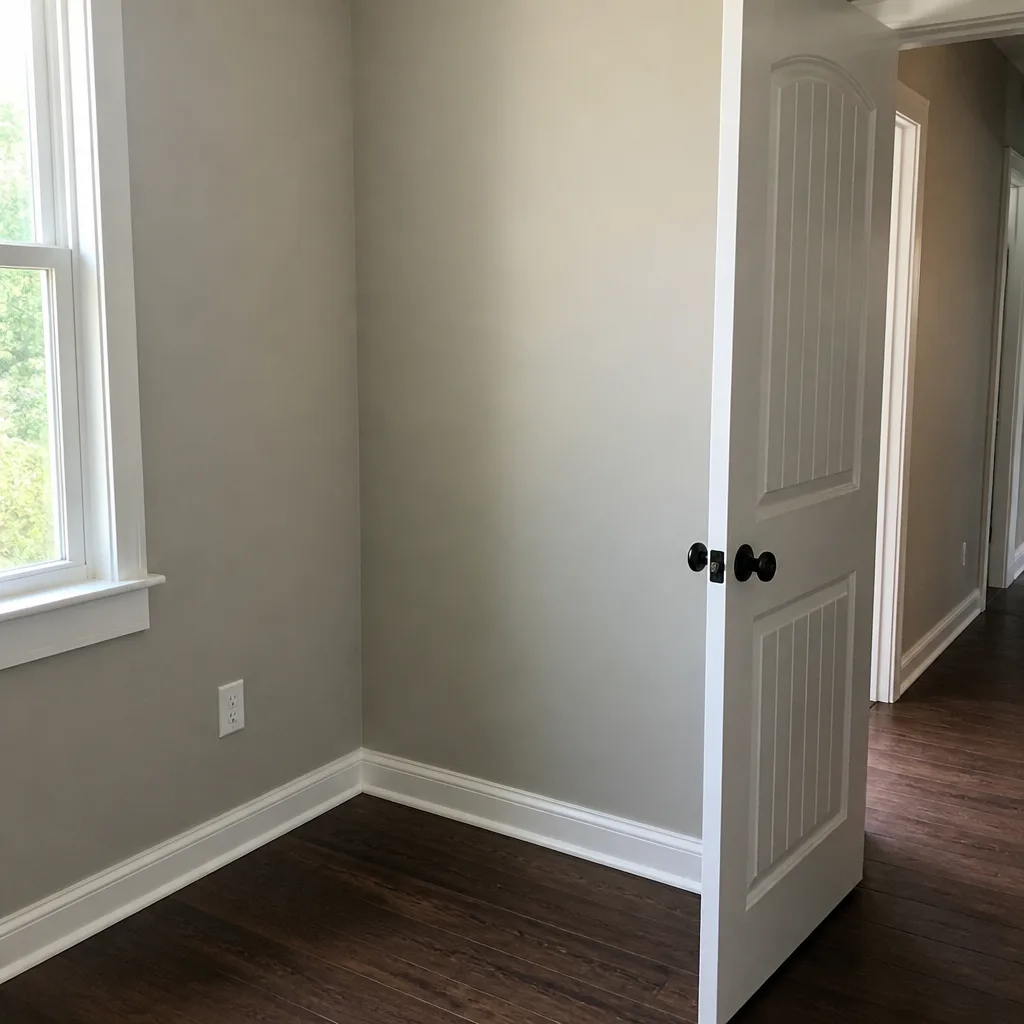 After
After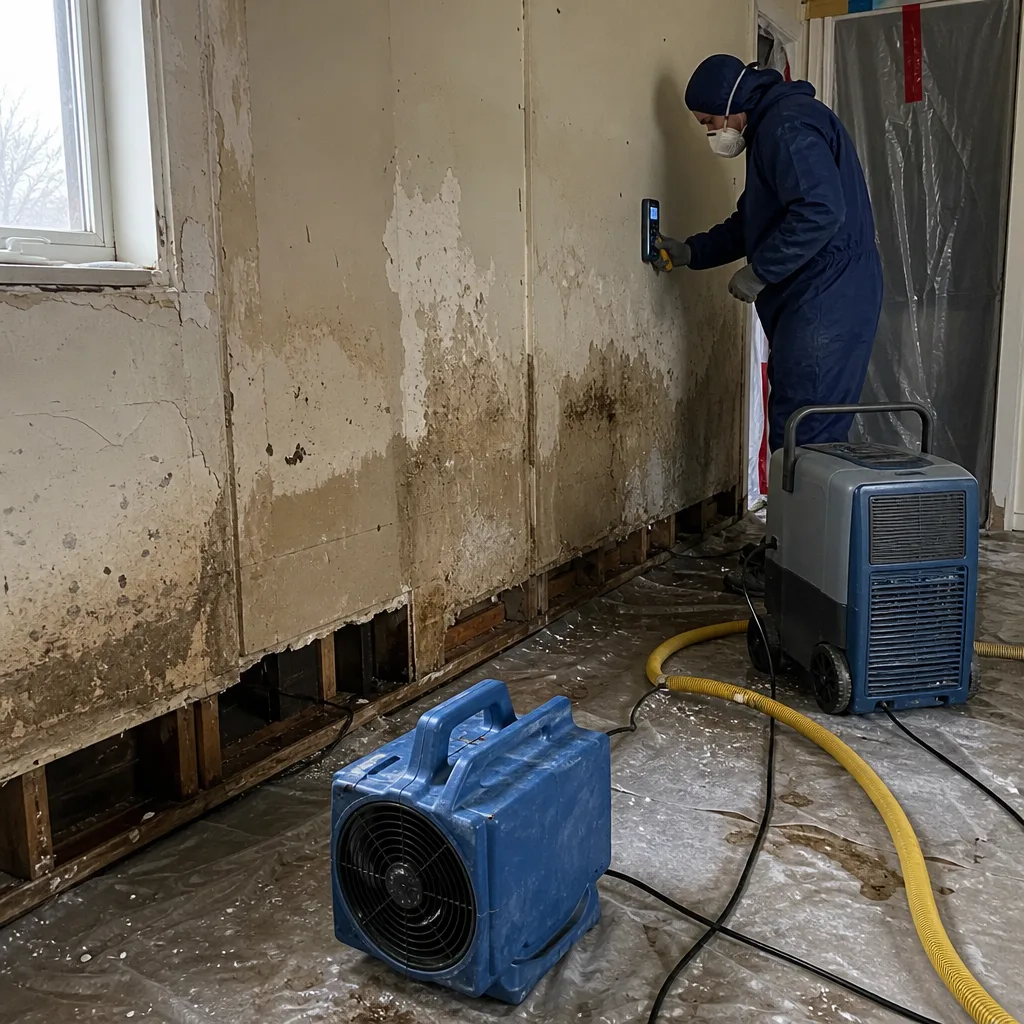 Before
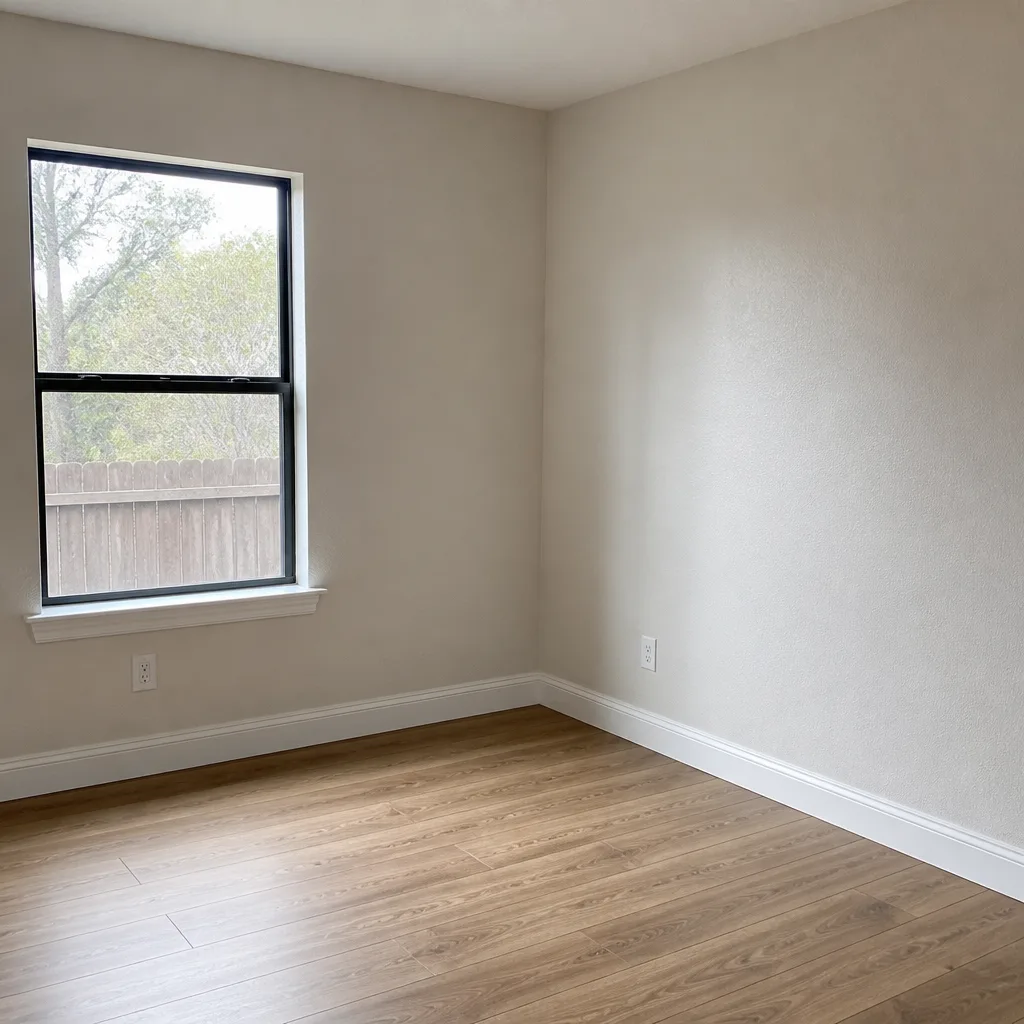 After
After